Dental 3D Printing 2025: Which Resin for Which Indication?
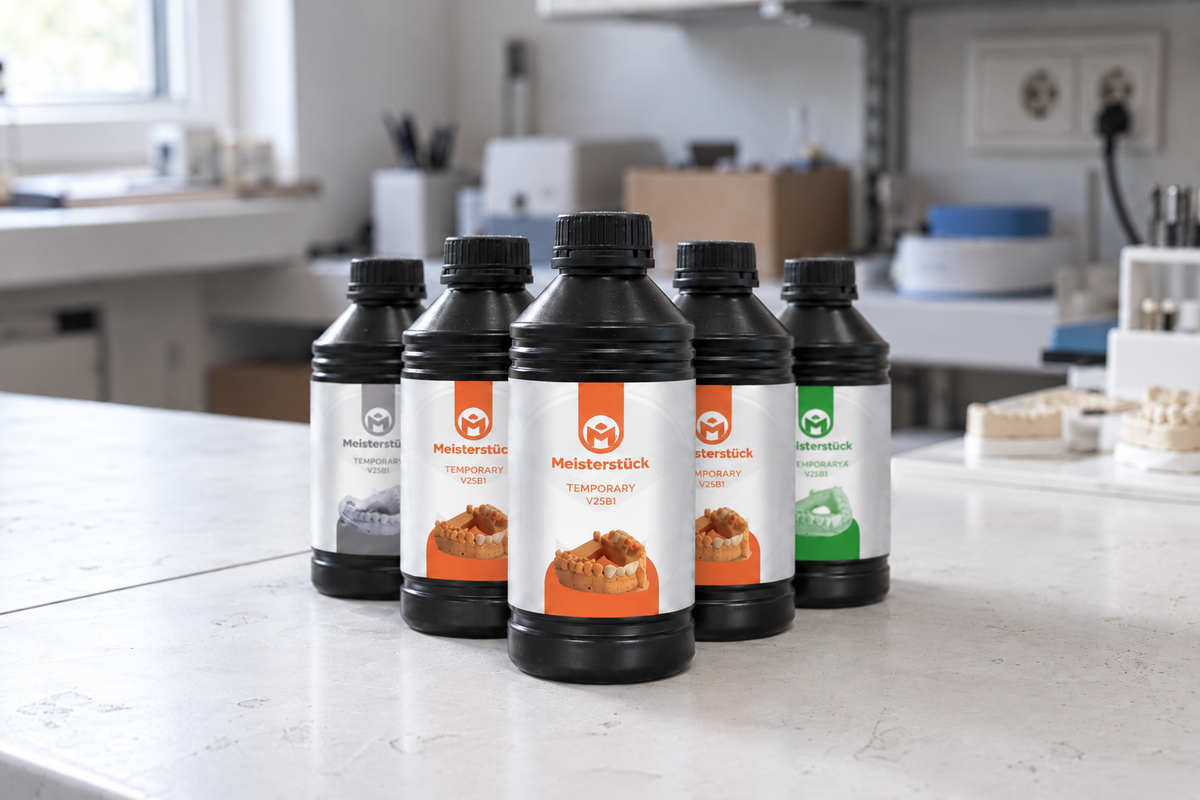
Dental 3D Printing 2025: Which Resin Suits Which Indication?
Meisterstück Dental · Expert Knowledge for Dental Technology Laboratories and Dental Practices
In just a few years, dental 3D printing has evolved from a niche topic to an integral part of the modern dental laboratory. Splints, models, surgical guides, trays, temporaries – all of these can now be printed quickly, precisely, and economically. The crucial question is no longer whether to print, but with which resin.
Because the material makes the difference: Not every resin is suitable for every indication. Using a model resin for surgical guides would be just as incorrect as using a splint resin for crown models. We explain which resin is made for which purpose.
Brief Summary:
For every indication, there is a suitable resin. Model, splint, surgical guide, and temporary resins differ significantly in hardness, biocompatibility, and post-processing effort. The right choice saves time and improves quality.
1. Overview of Printing Technologies
Before we get to the materials, a quick look at the printing technologies – because the resin must match the printer:
SLA (Stereolithography)
A UV laser precisely cures liquid resin point by point. High print volume, excellent surface quality, wide material variety. Well-known example: Formlabs Form 4B / Form 4BL.
Strengths: Largest print volume, best material range, extensive practical experience
DLP (Digital Light Processing)
A digital projector exposes the entire layer at once – faster than SLA, very high precision. Widely used in high-performance laboratory systems like Rapidshape.
Strengths: High speed, very precise, ideal for series production
MSLA (Masked SLA / LCD)
UV LEDs are masked by an LCD screen – the most cost-effective technology with very good quality. Used by Formlabs (Form 4B) and many entry-level devices.
Strengths: Best value for money, uniform layer exposure, compact
Important:
Always check if the desired resin is validated for your printer. Not every resin works correctly on every device – exposure times and wavelengths vary. For medical applications (intraoral), validation is legally required.
2. Indications and the Suitable Resin
Model Resin – Precision for the Dental Technician
The most frequently printed material in the dental laboratory. Model resins must be dimensionally stable, fracture-resistant, and easy to process. They are used for crown models, die models, aligner models, and orthodontic study models.
– Opaque variants: Ideal for preparation margins – high contrast facilitates work
– Matte surface (e.g., optiprint mattec): Gypsum-like feel, very popular in German laboratories
– Die models: Require high layer precision – 50 µm layer height recommended
– Aligner models: 100 µm layer height sufficient, high throughput more important than maximum detail
Model Resin Buying Tip:
Formlabs Model Resin, optiprint model, and optiprint mattec are particularly widespread in German laboratories. For high-throughput, a DLP system with a corresponding fast model resin is recommended.
Splint Resin – Strength and Biocompatibility
Bite splints, night guards, and orthodontic retainers are worn directly in the patient's mouth – therefore, biocompatibility is mandatory here. The resin must also be fracture-resistant and hard enough to withstand chewing forces.
– Biocompatibility: ISO 10993 / EN ISO 20795 – always ensure certification
– Hardness: Too soft resin breaks, too hard is uncomfortable – medium Shore hardness is optimal
– optiprint durotec: High mechanical strength, specifically developed for splints
– Formlabs Dental LT Clear Resin: Proven for long-term splints up to 18 months
Important:
Splint resins must be explicitly approved as biocompatible and for oral contact. Proof must be documented – MDR conformity (EU 2017/745) is mandatory.
Surgical Guide Resin – Transparency and Sterilizability
Surgical guides must be sterilizable, dimensionally stable under heat, and transparent – so the surgeon can control their position. The standard is a clear, biocompatible resin with high heat deflection temperature.
– Transparency: Allows visual control during implantation
– Sterilizability: Must withstand autoclaving or cold sterilization
– Formlabs Surgical Guide Resin: The gold standard – biocompatible, transparent, autoclavable
– optiprint IBT / guide: Specifically validated for surgical guide applications
Temporary Resin – Aesthetics and Short Wearing Time
Temporary crowns and bridges from the 3D printer are ideal for the transitional phase between preparation and definitive restoration. Wearing times range from a few weeks to up to 12 months, depending on the material.
– Shades: Available in VITA shade system – A1, A2, A3, BL, etc.
– Formlabs Temporary CB Resin: Up to 12 months intraoral, 7-unit bridges possible, 5 shades
– Aesthetics: Significantly better than conventional chairside PMMA temporaries from cartridges
– Post-processing: Polishing significantly improves aesthetics and surface hygiene
Gingiva Resin – Flexible and Natural
Flexible gingival masks give the laboratory model a realistic gingival feel – indispensable for implant cases and high-quality prosthetic work. The material is thermoelastic and mimics the resistance of natural gum tissue.
– optiprint gingiva: The most commonly used gingiva resin in German laboratories
– Flexibility: Soft Shore hardness, permanently color- and dimensionally stable
Tray Resin – Economical and Fast
Individual impression trays from the 3D printer are faster, more precise, and more hygienic than conventional trays. The resin must be stable enough to withstand the pressure during impression taking.
– Simple model resin: Often sufficient for individual trays
– Special tray resins: Higher stiffness, better suited for full arches
3. Resin Indication Table at a Glance
|
Indication |
Property |
Biocompatible |
Example Resin |
Printer Compatibility |
|
Crown models |
Opaque, precise, matt |
Not mandatory |
optiprint mattec, FL Model |
All SLA/DLP/MSLA |
|
Aligner models |
Stable, inexpensive, fast |
Not mandatory |
optiprint model |
All SLA/DLP/MSLA |
|
Occlusal splints |
Hard, break-resistant |
Yes (ISO 10993) |
optiprint durotec, FL LT Clear |
Validated Printer |
|
Drilling templates |
Transparent, sterilizable |
Yes (Class IIa) |
FL Surgical Guide, optiprint guide |
Validated Printer |
|
Temporaries |
Tooth-colored, aesthetic |
Yes (Class IIa) |
FL Temporary CB |
Validated Printer |
|
Gingival masks |
Flexible, pink |
Not mandatory |
optiprint gingiva |
All SLA/DLP |
|
Individual trays |
Rigid, dimensionally stable |
Not mandatory |
Model Resin / Tray Resin |
All SLA/DLP/MSLA |
|
Casting technology |
Burn-out without residue |
No |
optiprint cast nf |
All SLA/DLP |
4. Post-processing — the underestimated step
The printing process itself is only half the battle. The quality of the final product largely depends on post-processing:
Washing
After printing, all parts must be washed in isopropyl alcohol (IPA, 99%) to remove uncured resin. Automatic washing machines (e.g., Formlabs Form Wash, SprintRay ProWash) are significantly more efficient in laboratory daily operations than manual washing.
Post-curing
UV post-curing fully hardens the material and stabilizes mechanical properties. For biocompatible applications, complete curing is mandatory. Special post-curing ovens (Form Cure, ProCure) with defined cycles ensure reproducible results.
Polishing
Especially for splints and temporaries, polishing significantly improves surface smoothness, appearance, and hygiene. Matte surfaces of model resins can be left as is.
Workflow Tip:
Invest in an automatic washing and curing system. The time spent on post-processing with manual work quickly accounts for 30–40% of the total production time — automation pays off with about 10 prints per week.
5. Cost per indication — what is worthwhile?
|
Indication |
Material costs/unit (approx.) |
Printing time (approx.) |
Post-processing |
Worth it from |
|
Crown model |
€0.50 – 1.50 |
15–30 min |
Wash, cure |
Immediately |
|
Aligner model |
€0.30 – 0.80 |
10–20 min |
Wash, cure |
Immediately |
|
Bite splint |
€2.00 – 5.00 |
30–60 min |
Wash, cure, polish |
From 5/week |
|
Drill guide |
€3.00 – 8.00 |
20–45 min |
Wash, cure, sterilize |
From 2/week |
|
Temporary (crown) |
€1.50 – 4.00 |
20–40 min |
Wash, cure, polish |
From 3/week |
|
Gingival mask |
€1.00 – 2.50 |
20–40 min |
Wash, cure |
From 3/week |
|
Individual tray |
0.50 – 1.50 € |
15–25 min |
Washing, Curing |
Immediate |
6. Conclusion: The Right Resin for Every Task
The key to successful 3D printing in the dental lab lies in choosing the right material. Using the appropriate resin for each indication allows for better, faster, and legally compliant production.
Our recommendation for getting started: With an all-round model resin and a validated splint resin, most labs are well-equipped for 80% of their 3D printing indications. Surgical guide resin and provisional resin can be added depending on specialization.
Your next step:
Meisterstück Dental offers a selection of 3D printing resins for dental laboratories — biocompatibly certified, with system specifications and personal advice on printer compatibility. Discover our product range at ms-dentaldepot.de.